active directory hacking lab
hi. today i am going to show you how to set up an active directory lab to practice ethical hacking of active directory for companies in a closed and secure environment.
well for starters we need a virtualization software either vmware or virtualbox.
once installed we have to download and install in virtualbox (I chose virtualbox) a windows server 2016 and windows 10
once installed and configured, let’s start with server 2016.
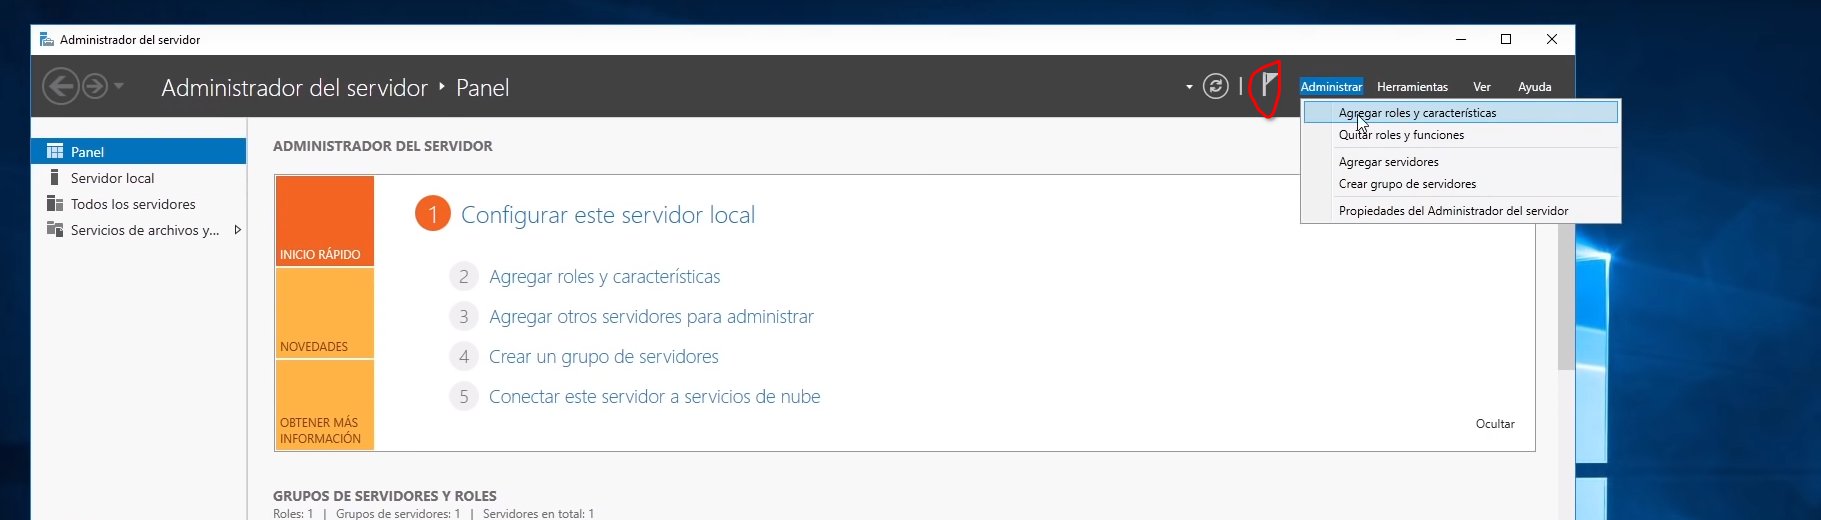
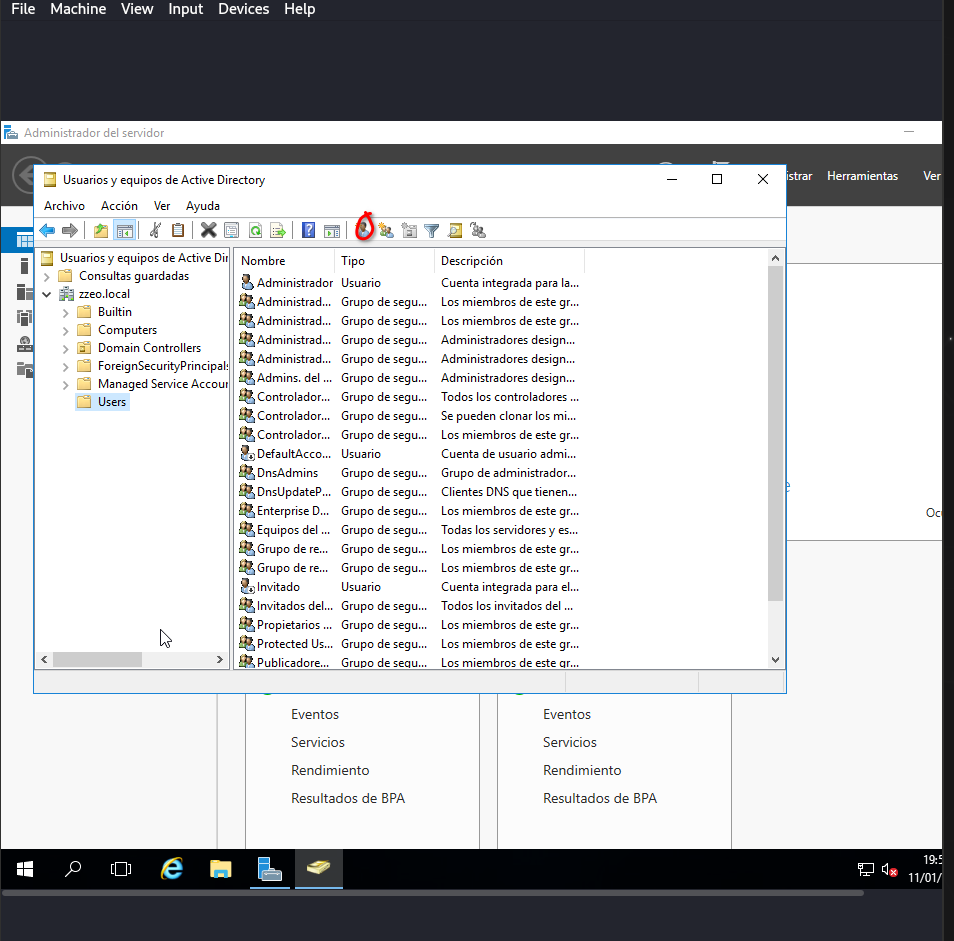
once inside we have to click on “administrate” and select the first option

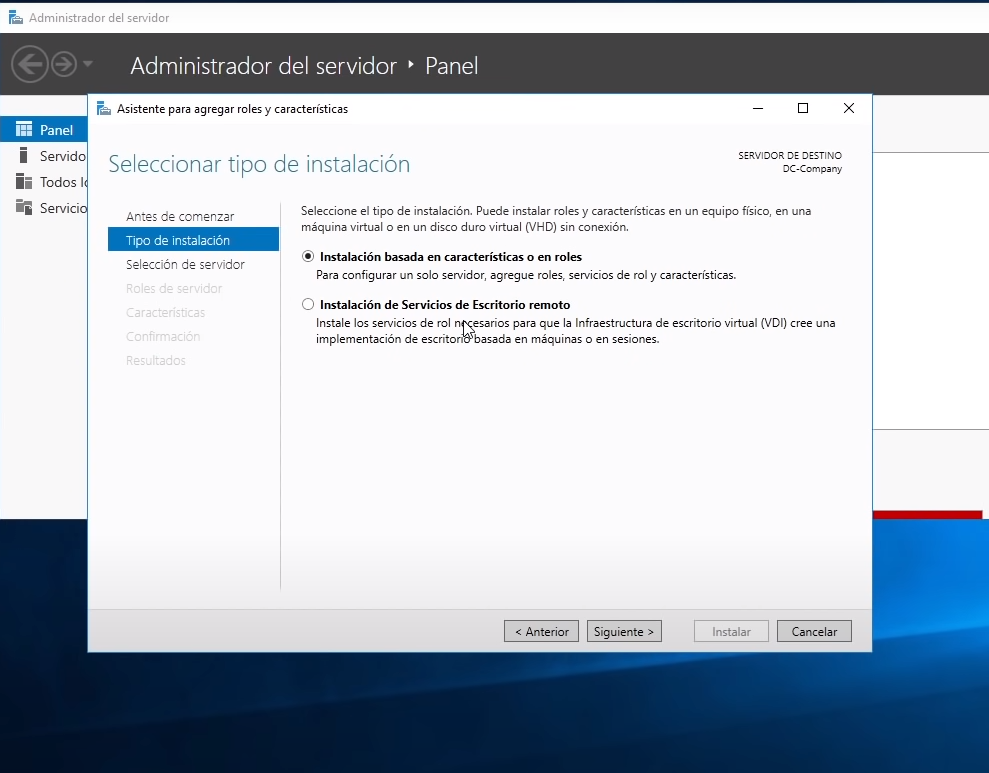
then click next and select the option “feature or role based installation”.
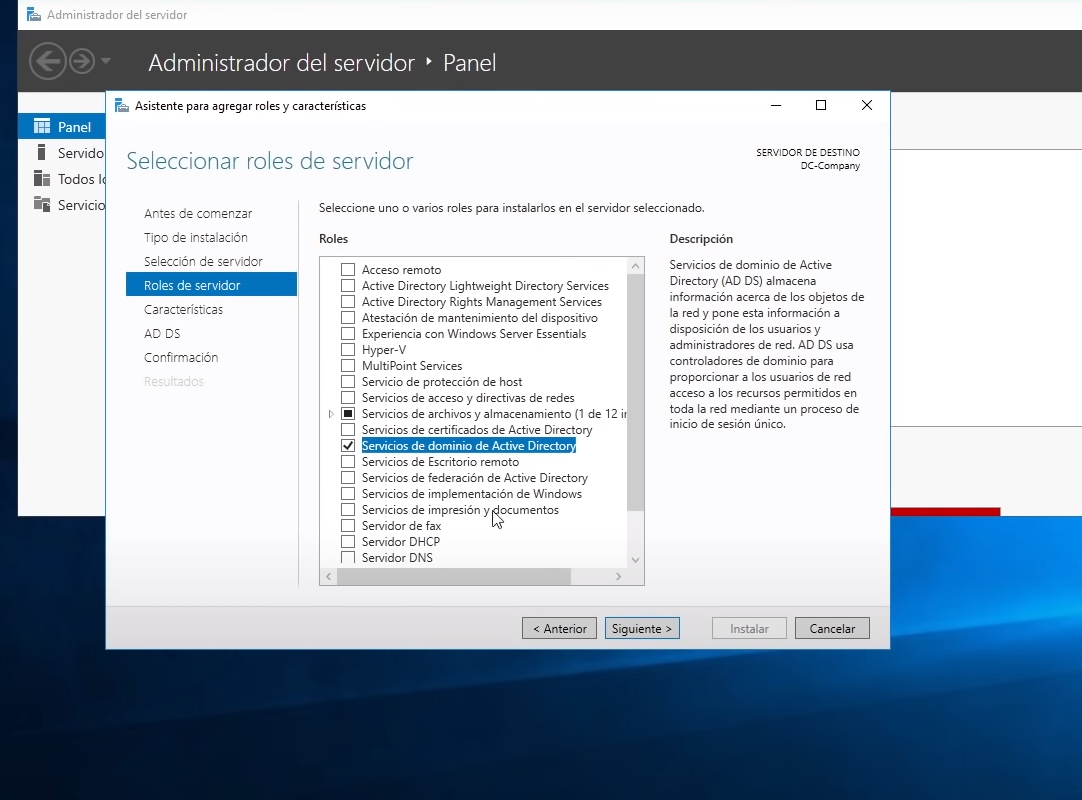
then we give next and and we will get many options. everyone can put the ones you want to practice something more specific but as what I’m teaching is general puesolo check the box “active directory domain services”.
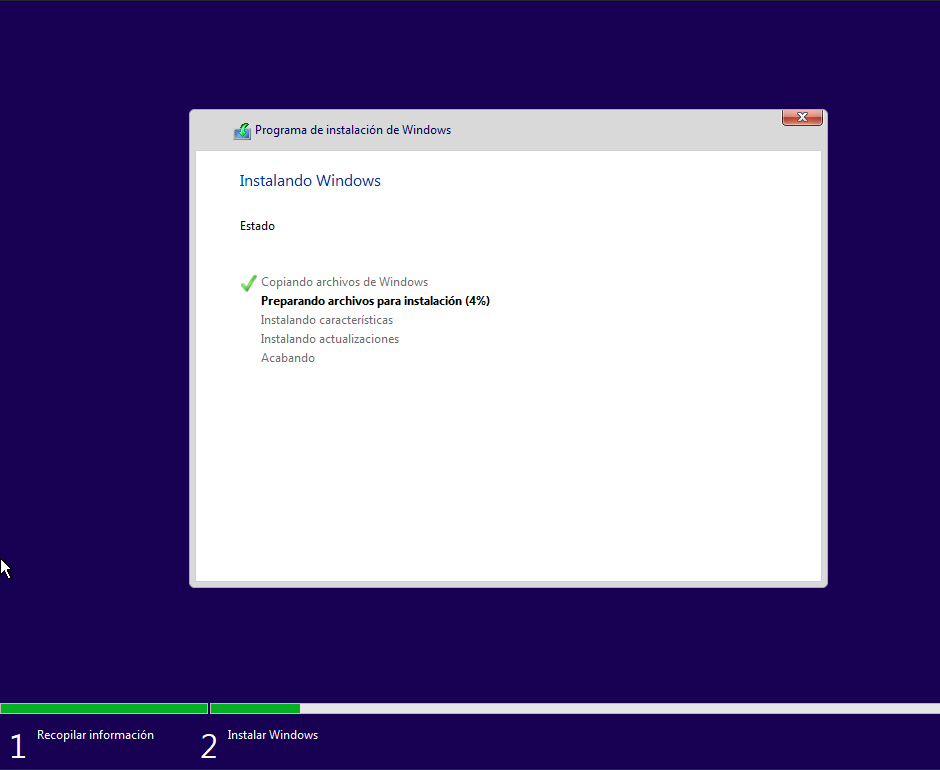
now we just click on install and wait for it to finish and it will restart automatically. if it doesn’t, we restart it manually.
when we come back we will see that we have a kind of “notification”.
(an emergency icon should appear but I forgot to take a screenshot, sorry).
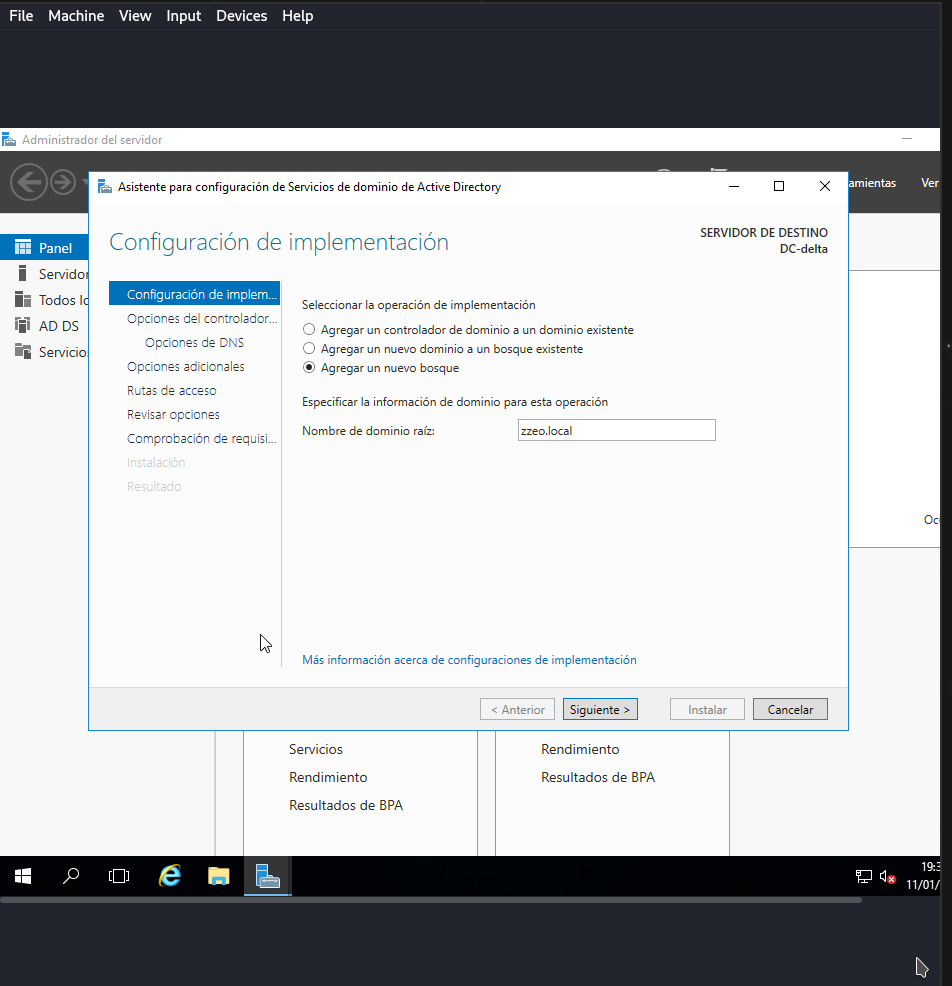
when you click on the notification a pop-up window will appear and you will have to enter the domain name.
the next thing to do is to set a “secure” password (don’t set a very secure password either, otherwise you might not be able to hack it when practising).
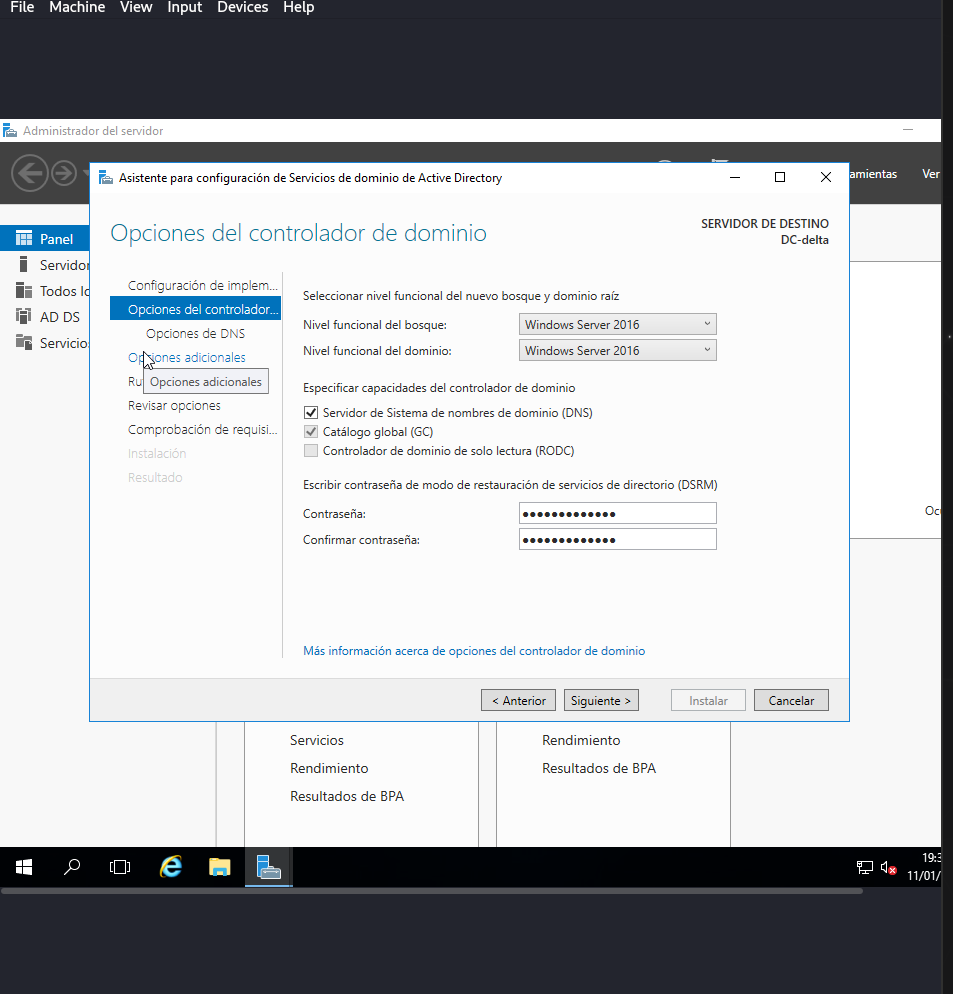
the next thing to do is to click on “next” until you can click on “install”.
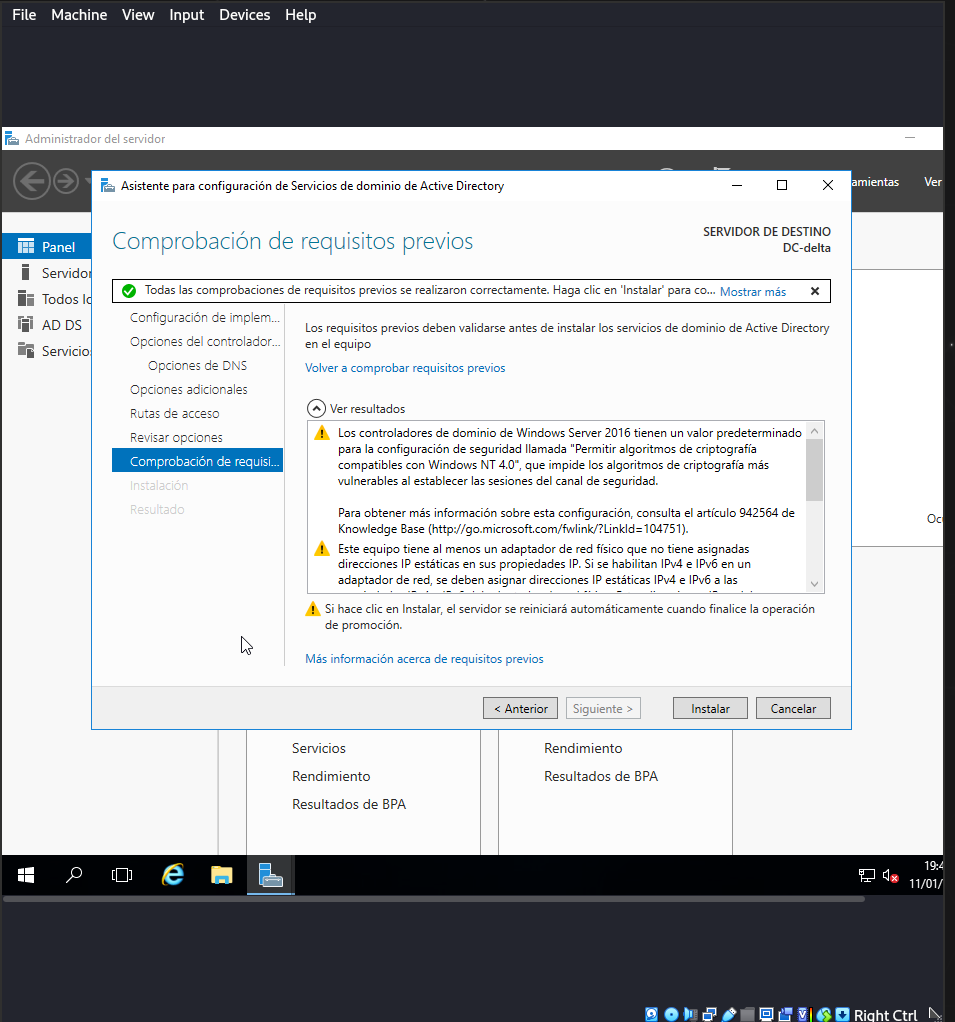
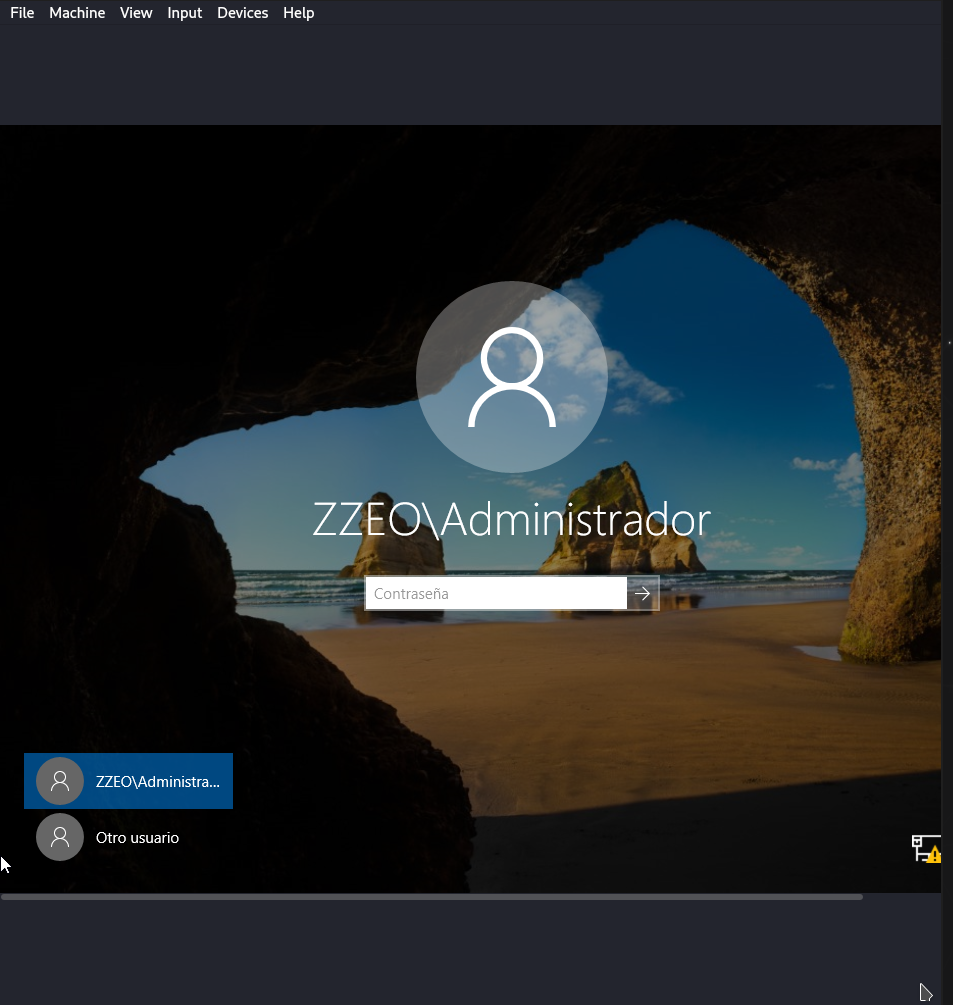
now we just click on install and wait for it to finish and it will restart automatically. if it doesn’t, we restart it manually and when we restart we will see that we are now logged in as the server administrator.
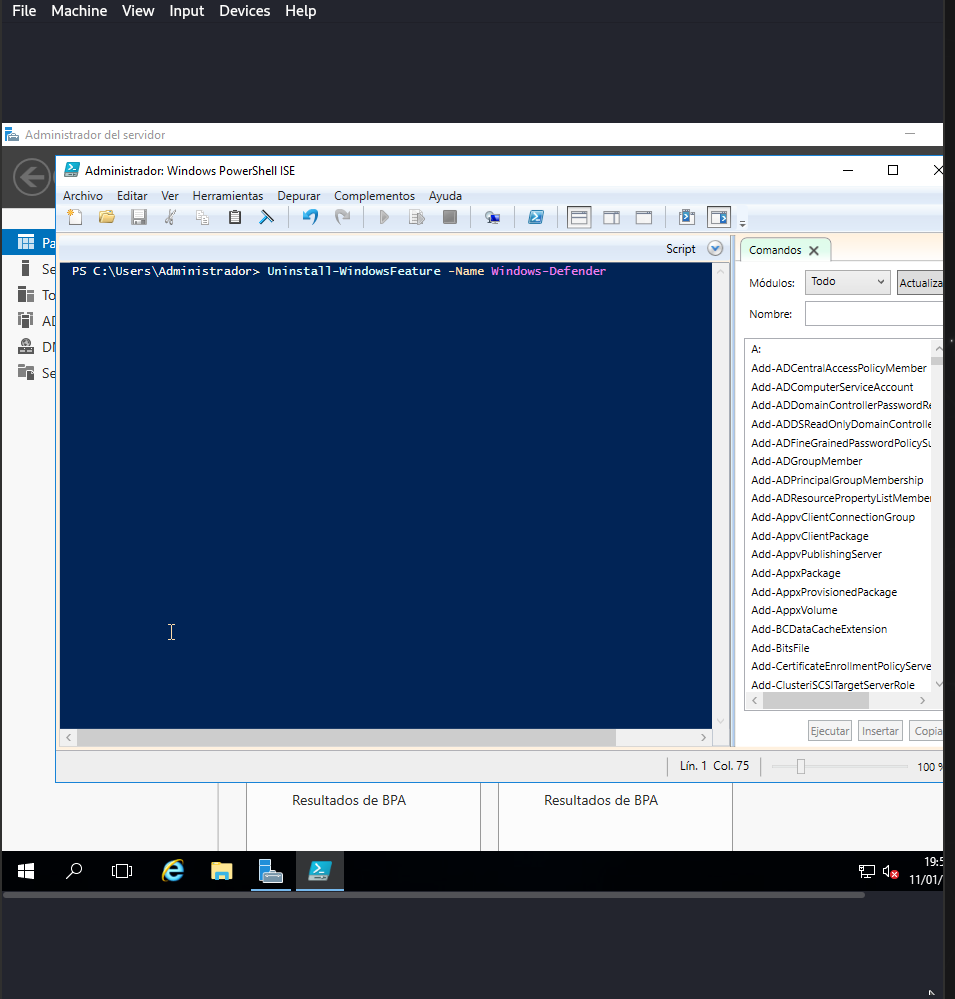
this step is optional for anyone. it is to uninstall the antivirus for anyone. if you want to practice with it you can but you will have to know how to do a bypassing. for this you should open the powershell ISE and put the following command: Uninstall-Windows-Feature -Name Windows-Defender
and finally on the server side is to create a user for active directory for the other computer. to do this we will click on the following option
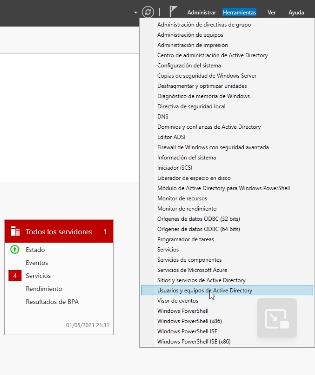
go to the user folder
We select the checked option and make the following settings


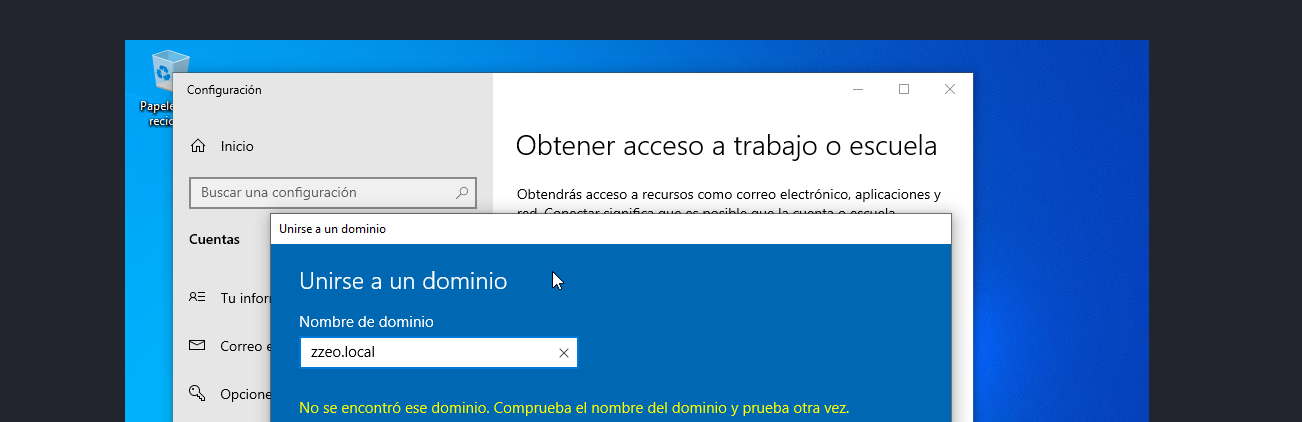
Once installed and configured we have to look for an option called “get access to work or school” and select it and click on “connect” and enter the domain and the username and password we have created.
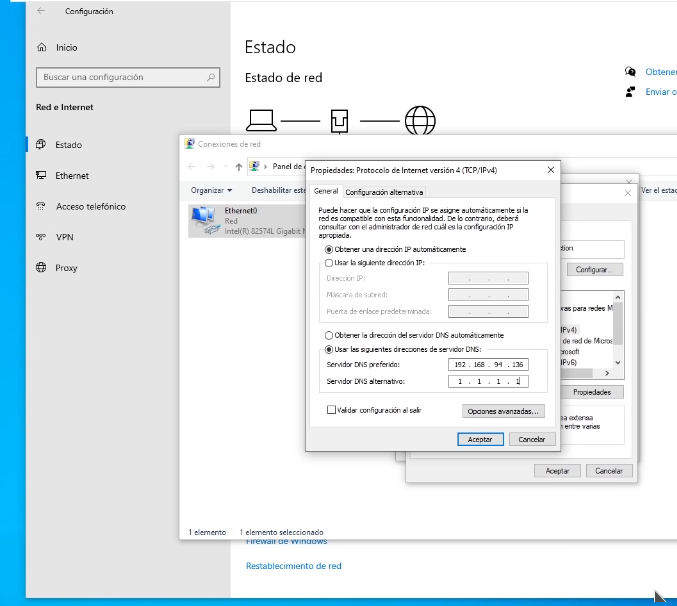
ok and before restarting we have to change a DNS configuration. we go to the internet configuration, we click on “change adapter options” we click on our adapter and we click on properties and we have to set the server ip in the dns service.
and now we are done. i hope you found it useful. bye.